8 Super important exercises for people with water fear (hydrophobia)
These exercises can be done in order to adapt to the water for people with lower back pain or water fear

20% of the population suffers from water fear, hydrophobia. Many people do not start the process because of the fear of failure and / or economic reasons, since sometimes such a process can take time.
Most people who start the process and come to the pool to learn how to swim WEST and cope with the fear of water, are afraid to go to the pool alone and practice without a guide. Therefore, after several requests from patients and swimmers with fear of water, we decided to prepare for you a number of exercises that you can do by yourselves and without close accompaniment. Also, you will be “with your feet on the ground” throughout the exercises.
In order for you to see results, it is recommended to get to the pool between once and twice a week and practice for 30 minutes to an hour.
Exercise # 1: Walking while making circles with your hands
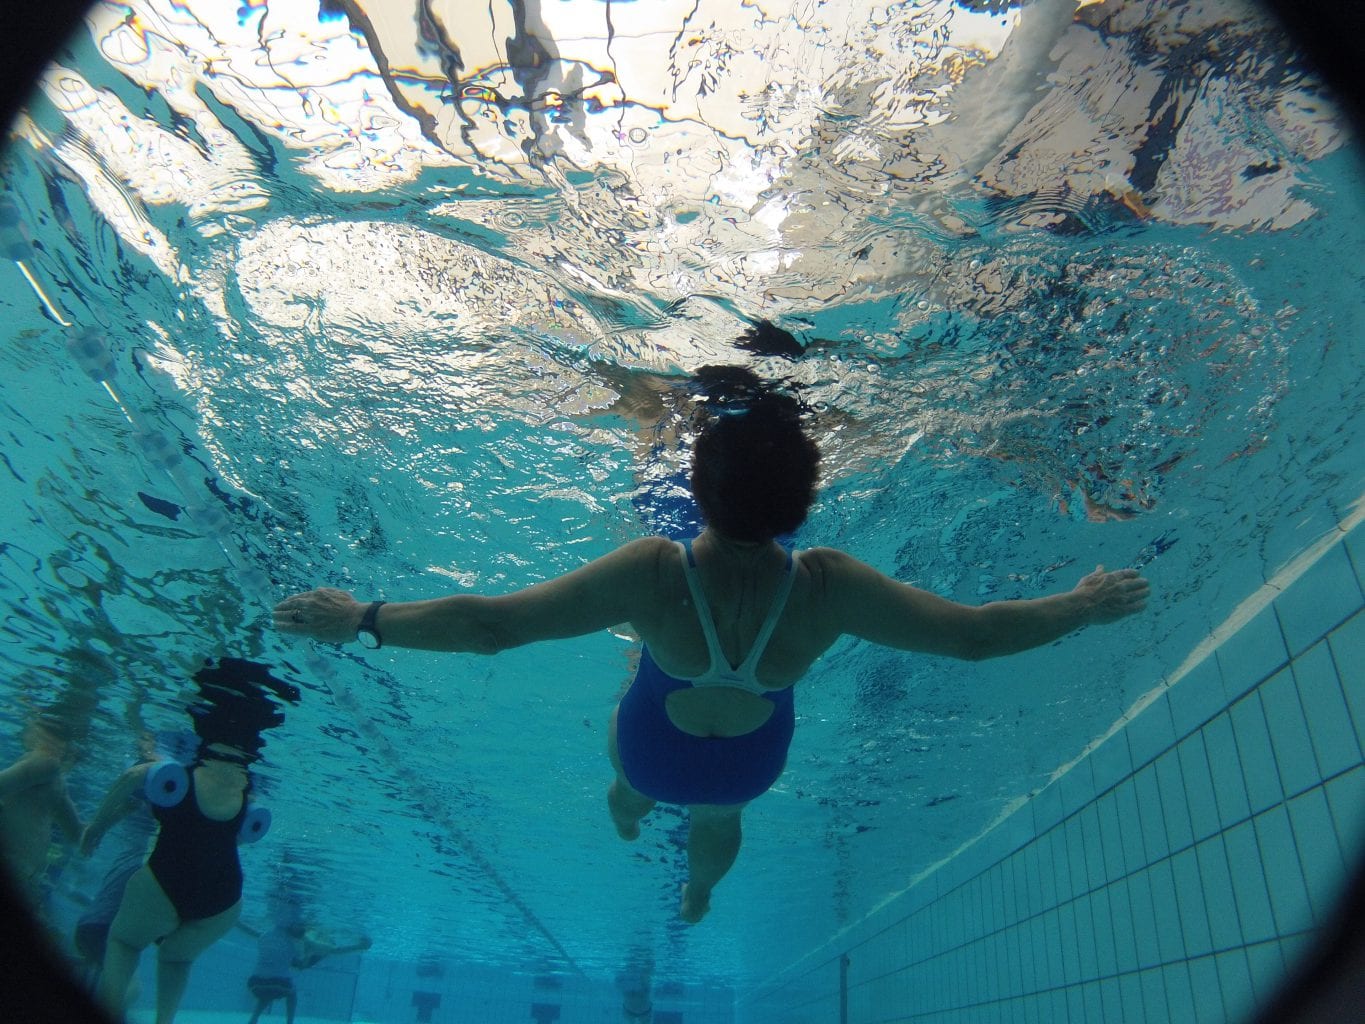
Explanation: Put your hands in the arrow position at a depth of 35 centimeters below the water line and make circles toward the abdomen, each circle ending back at an arrow. It is very important to note that the circles in the water are done at a depth of 35 centimeters below the water line, which will reduce tension and stress and thus reduce the pressure in the neck and shoulders. This will facilitate progress and swimming in more advanced stages.
It is important to remember: During the walking and practice, keep your back straight and your shoulders in the water. Thus we create conscious and controllable pressure on the lungs, one that opens them and gives us more air in each inhalation.
Exercise # 2: Hands stretched back on the wall
Explanation: After practicing the previous exercise for five minutes, stretch for a minute. Stand with your back to the wall, hold it with your hands opened in shoulder width and slowly and carefully slide down. With this action, we stretch the chest, shoulder, and biceps. In addition, we gently insert the scapula in, releasing stress and tension from the neck and shoulder area, which is actually the center of mind and emotion.
Exercise No. 3: Walking and rowing, “long dog swim”
Explanation: As we walk slowly, we stretch the respective hand parallel to our steps. For example, while walking with your right foot forward, stretch your right hand forward to the maximum. At this time, the left hand stays back. As a natural response to fear, our bodies contract and therefore it is difficult for us to breathe. Stretching relaxes our body and helps us release the shoulders and lower back. This way, we open the shoulders and lungs area, which will help us “open our breath”.
It is important to remember that while walking you should keep your back straight and your shoulders in the water. In addition, keep the forehand stretched at a depth of 35 cm as in the previous exercise. If you feel pressure and pain during the stretch, let go a little and stretch less.
If we continue to exercise, we will gradually be able to stretch more without pain and pressure. It should also be noted that the movement of the hands is carried out only in the water. That is to say, throughout the exercise the palms remain in the water – “long dog swim”.
Exercise # 4: Stretching “the Lung Meridian” – Opening the lungs and releasing stress
Explanation: After the previous exercise, we will perform a stretching of “the Lung Meridian” running through the inside of the shoulder to the tip of the thumb. Hold your thumbs up and in a slow and controlled way, stretch your arms to the sides and up to the maximum while releasing the neck. During the stretch we will inhale air, and after stretching for a few seconds, exhale the air and release the hands back to parallel position. In this action, we actually open our shoulders, stretching “the Lung Meridian”, which will help us get more oxygen from each inhalation, and reduce stress and pressure while moving.
Exercise # 5: Bubbles in the water- Vertical descent
Explanation: Inhale through the mouth for two seconds, and then descend vertically down to the point where the lips are in the water, and exhale through the mouth, making bubbles. Do so continuously for 5 minutes. If you feel comfortable, put our heads in the water when your body (including the head) remains vertical. Once again inhale through the mouth and exhale through the nose, blowing bubbles in a very slow way, keeping your back straight. If you do not succeed in blowing bubbles through your nose, you can exhale for 2 seconds and inhale for 2 seconds through the mouth.
It is important to remember: During the exercise, you should keep your body vertical, maintaining a straight, healthy back and without tension or pain as we aim for in the West Swimming Technique. If you feel the need, you can hold the wall. It is important to reach a point where we are able to practice continuously, that is, inhale, release the air in the water, go up again, inhale, and so on, without stopping.
Exercise # 6: “Reverse Arrow”
Explanation: Cross your hands, lacing the fingers together, turn the palms so that they are outward and stretch the hands slowly and cautiously upwards as much as possible. In this way, we will release and reduce the tension and stress we have in the shoulders and neck, which are the center of mind and emotion, and also maintain the lower back.
It is important to remember that the stretch should be performed in a controlled and slow manner while listening to and our body. During the stretch we inhale, hold the air in for a few seconds, according to the time of the stretch, and exhale when releasing the hands.
Exercise # 7: Transitioning from floating to standing
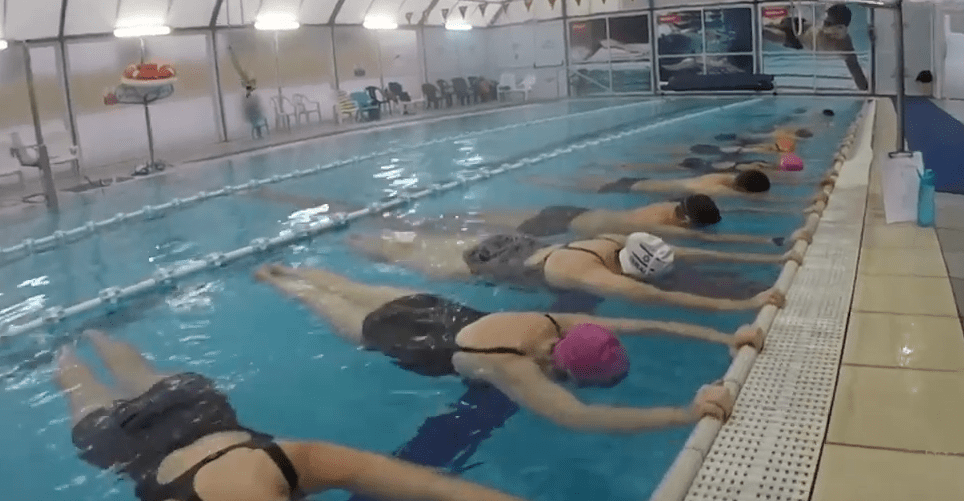
Explanation: This is one of the most important exercises for practicing the WEST Swimming method of dealing with hydrophobia, fear of the water. Hold the wall with two straight hands, inhale through the mouth and slowly and carefully lower the head into the water, with your gaze turned down, to the bottom of the pool. Only after your head is in the water, while keeping the air in, ease your feet off the floor and let them float. After about 2-3 seconds with your feet floating, begin to release air through the nose and slowly bend the knees towards the abdomen until they are at 90 degrees with the bottom of the pool. Put both feet on the bottom of the pool and only then, safely, raise your head and inhale. If after a few exercises you feel safe and relaxed, you can practice with a lighter grasp of the wall and release of the shoulders.
It is important to remember that the exercise must be performed in a safe haven. That is, at a depth where you stand in a safe and stable way, while holding the wall. Thus, the level of pressure and stress will decrease, which will allow you to practice in a fun, enjoyable, and empowering way, that will definitely advance you toward your next goal in the WEST swimming technique.
The order of actions must be observed; only after the head is in the water with the ears between the hands, the gaze is directed to the bottom, while keeping the air in, and then releasing the feet from the bottom. If we lift our feet from the bottom before putting our heads into the water, we might try to hold our breath while inhaling the air, which will cause stress, which of course is what we want to release in the water in particular and in our personal lives in general.
Also, for the same reasons, we must keep the order of actions in the transition back from floating to standing – only when our feet touch the bottom we raise our heads.
Exercise # 8: Lying, 3 bends of knees and standing – strengthening the core muscles
Explanation: After performing the previous exercise several times and feeling comfortable with it, it’s time to perfect it. This time, we straighten and bend the knees to 90 degrees between two and three times. Hold the wall with both hands, put your head in the water, and straighten your legs, floating them. Bend our knees to the belly, straighten back, and bend again, straighten and bend for the last time, put two feet on the bottom of the pool, lift your head with a big smile and a breath of air.
It is important to remember: It is important to perform the exercise only after we feel confident in performing the previous exercise. In addition, while folding the knees and straightening several times, we must keep the air in and only in the last fold exhale in the water and blow bubbles through the nose. Also, during the practice, keep the head position correct where the ears are between the hands and the gaze is in a straight line towards the bottom of the pool.
For how long should we do each exercise?
Each motion exercise should be done for exactly 5 minutes, each stretch for exactly a minute (10 seconds shaking shoulders and 10 seconds more).
When we are asked to practice for 40 minutes, we finish 28 minutes (5 5-minute exercises and 3 one-minute stretching exercises) and begin Exercise # 1 again.
** Dealing with water fear is definitely challenging! We at Water World believe that with will, perseverance and practice of the WEST technique to dealing with anxiety, anyone is able to overcome phobia and without realizing it, to find himself floating on the water and learning how to do the swimming movements which are right for him in order to advance efficiently, while maintaining the health of the neck and lower back as strictly as they are maintained by the WEST method.
See you in the water


